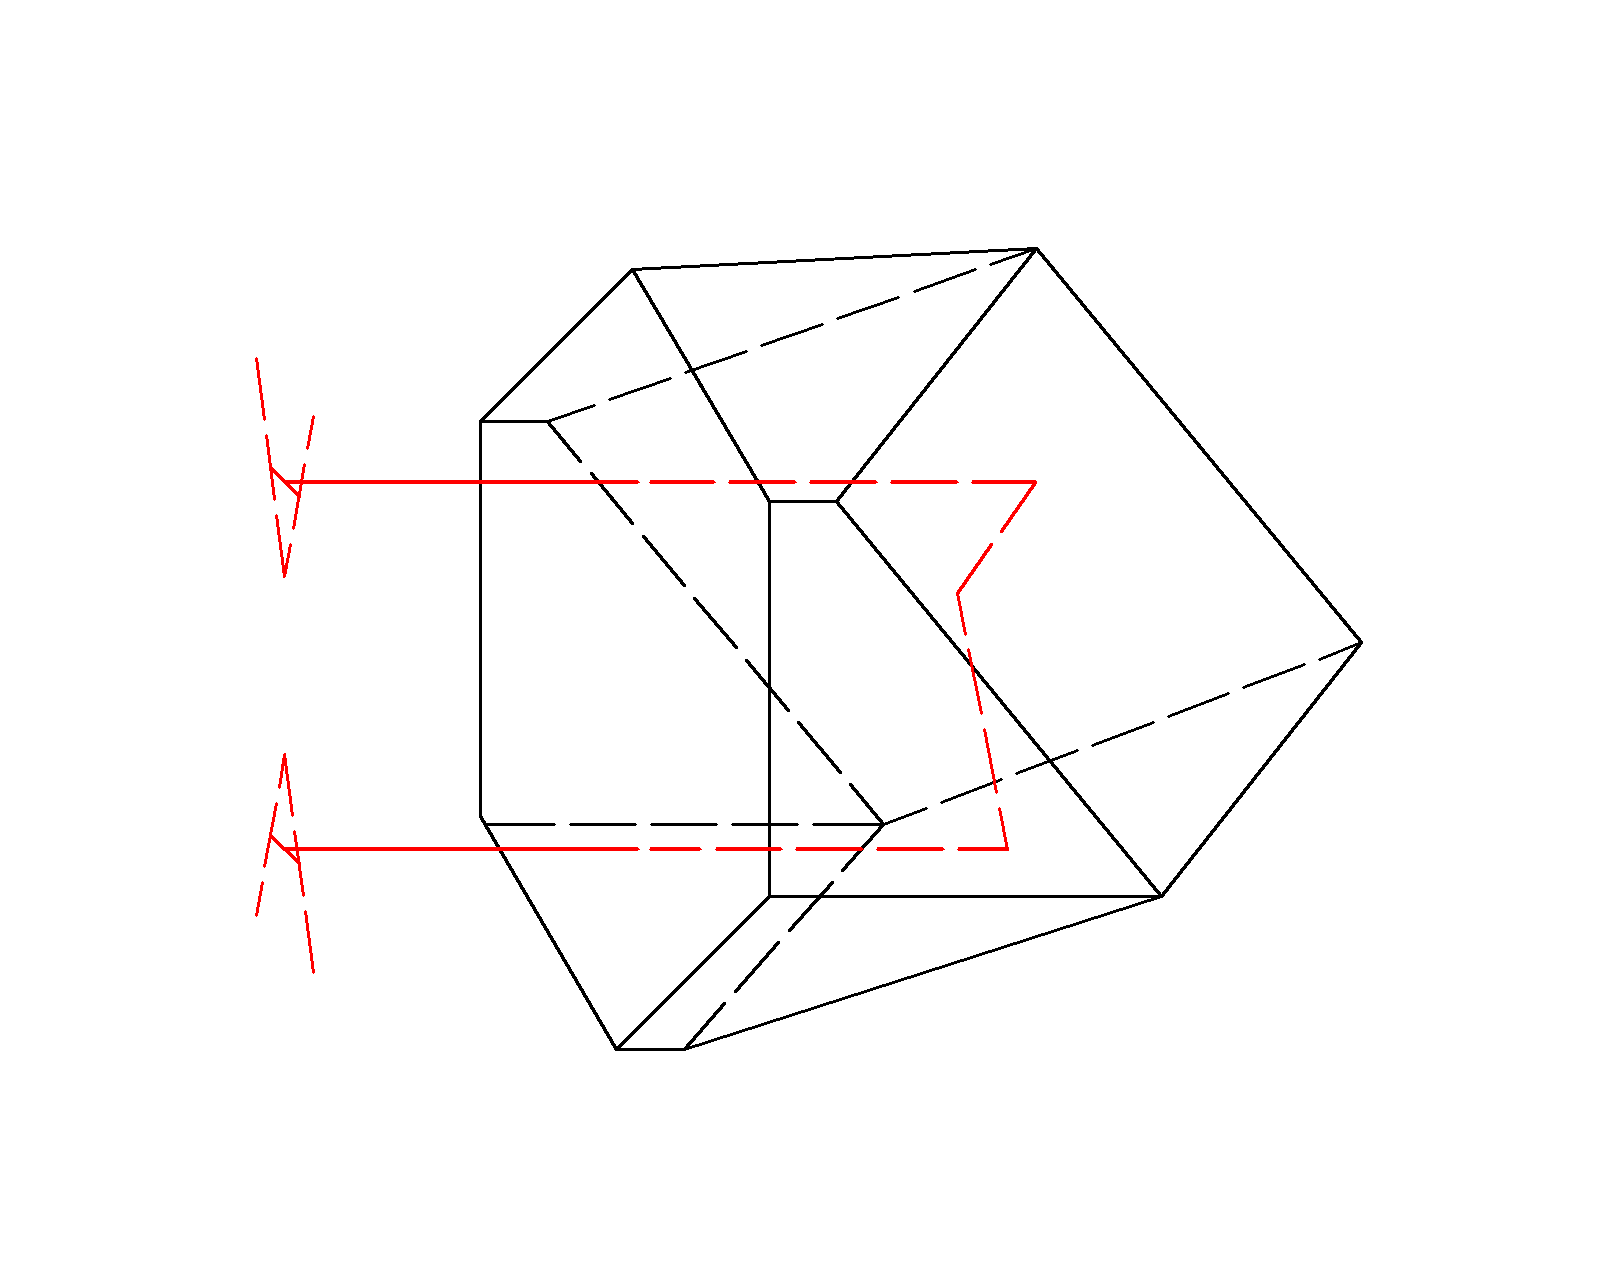
retroreflection prisms
Retroreflection prism, also known as corner cube prism or retroreflector, uses three reflecting surfaces perpendicular to each other to produce a reflected beam which is parallel to the incident beam.
The unique feature of retroreflection prism is that the beam is reflected back towards its point of origin regardless of the angle of incidence. As such, it allows for more loose tolerances of alignment in the optical system, making it especially useful in applications where precise adjustment is difficult to obtain or impossible.
Common applications for retroreflection prisms include:
- Laser systems
- Telemetry and positioning
- Spectroscopy
- Metrology
Retroreflection prisms – principles of operation
The retroreflection prism uses three reflecting surfaces which are perpendicular each to the other creating a structure similar to walls of a cube. The input surface is perpendicular to the cube diagonal. Disregarding the angle of incidence the output beam is parallel to the direction of the input one, but in opposite direction. The main figure of merit of retroreflection prism is beam deviation, stated in arcseconds. The accuracy of the reflection depends on how precise is the orientation of reflective surfaces. Structural imperfections and resulting beam reflection errors can be avoided only using highly precise and repeatable production process.
Manufacturing and quality process
Retroreflection prisms operate using the phenomenon of full internal reflection so it is not necessary to put mirror coating on the reflecting surfaces. However, Solaris Optics optical coating capabilities make it possible at the client’s request to apply metallic, dielectric or dichroic mirror coatings on the element. Mirror coatings parameters can be optimized for application specific requirements. The input surface can be coated with antireflective coating for a specific wavelength – UV, VIS+NIR or IR.
Every prism goes through a rigorous quality inspection. Solaris Optics metrology department is equipped with the state-of-the-art metrology equipment for testing parameters of optical elements, including:
- ZYGO VeriFire and OptoTech OWI 150 XT digital interferometers used for surface accuracy, wavefront error and curvature measurements
- Goniomat M5 goniometer for prism and angle measurement with ±1,5 arcsec accuracy
- NewView 8000 3D Series profilometer for surface roughness measurement in range from < 1 nm up to 20000 µm
Please do not hesitate to contact us for more information.
Please visit also:
– Prisms – to check possible production specifications for prisms.
***


