Subsurface Damages Reduction for Precise Optics Manufacturing
Published: June 29, 2021
Solaris Optics is a custom optics manufacturer with a focus on precision optics. Precision typically comes out as a result of all manufacturing steps and is described by final specifications including dimensions, form error, surface quality, radius, etc. as well as via actual, measured performance of optical elements.
In order to further develop its capabilities in precision optics manufacturing Solaris Optics regularly investigates its potential improvement areas. One such domain, addressed by Solaris Optics with support of EU funds, is the occurrence of so-called subsurface damages in glass optical elements.
Subsurface damages as a source of optics quality deterioration
Subsurface damages are defects, such as cracks, but also contaminants or residual stresses, that appear below the optical surface. Subsurface damages caused by element manufacturing appear typically from 100 nm to 5 um below the components surface.
Such damages in final glass optical elements affect the component performance. For instance when an element is used with a high power laser the laser energy is absorbed by the optics, especially in damage areas, which leads to component faster deterioration and damage. Similarly, in measurement systems, optics subsurface damages cause additional scattering and can reduce the signal to noise ratios.
The subsurface damages cannot be fully avoided, regardless of manufacturing techniques applied, nevertheless they are a common problem, which requires to be addressed.
Sources of sub-surface damages in optics
A crucial question to manufacturers is how to reduce the occurrence of subsurface damages in the manufacturing steps and in the final parts. Reduction of the damages would significantly speed up the manufacturing process and improve the product quality.
To give a manufacturing process perspective – a simplified glass optics manufacturing process can be described as below:
- Cutting elements from a glass block
- Machining the elements
- Grinding
- Polishing the elements + optional polishing via MRF (for ultimate precision)
- Cleaning the elements
- Measurements and thin film deposition

Fig. 1. Polishing technologies – subsurface damages
The problem of subsurface damages, especially cracks, was identified to appear during the grinding processes. It is proved experimentally and described in literature.
Grinding is a process of material removal, towards the expected component shape and dimensions. It is an iterative process, where each iteration removes a material layer along with the deepest damages. Each grinding step creates further, but smaller damages, so that in each step a smaller amount of material and smaller damages are removed. In result, after several steps the surface and subsurface damages are small enough so that the element can go to final polishing.
When a part goes to polishing process it is, as mentioned above, not free from subsurface damages. Hence polishing shall finally reduce the subsurface damages existing after the grinding process. With such demands polishing becomes a time consuming process, significantly affecting the overall production time.
Hence it can be assumed that reducing the occurrence of subsurface damages before the components go to polishing (hence on the grinding phase) shall considerably reduce manufacturing times and costs.
Reduction of subsurface damage via diamond grinding
In order to address the issue Solaris Optics started an R&D project, which aims to describe the development of subsurface damages during the production steps and to propose alternative manufacturing techniques, that would allow to mitigate the issue of subsurface damage.
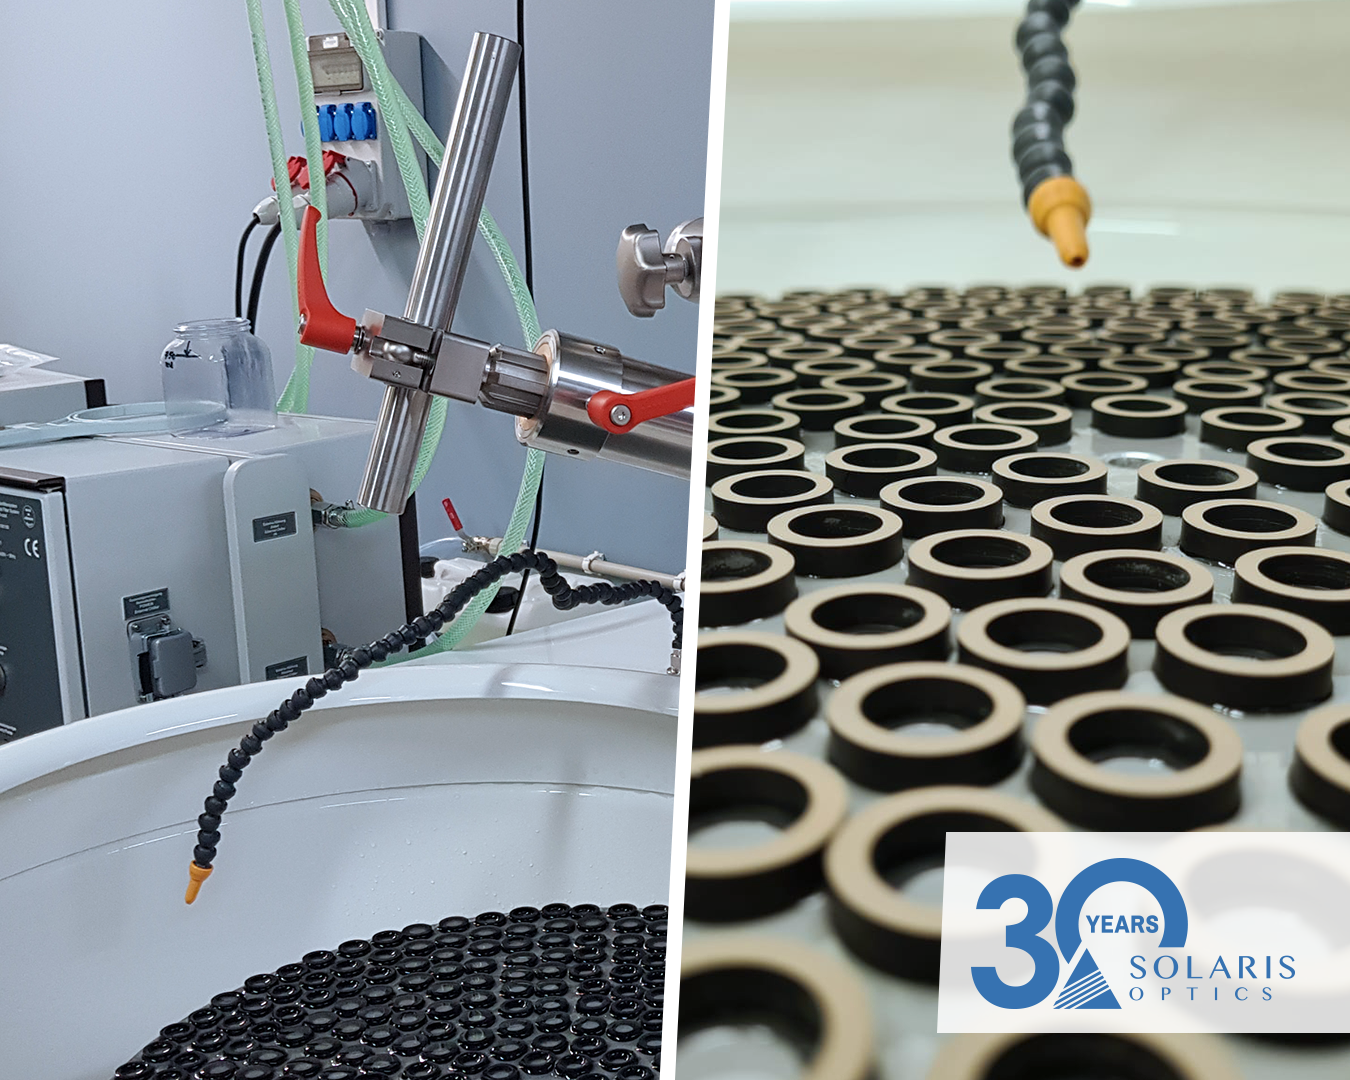
Based on literature and research in available technologies Solaris Optics engineers identified grinding with diamond palettes as a potential technique to improve grinding precision and reduce the sub-surface damages caused during this phase.
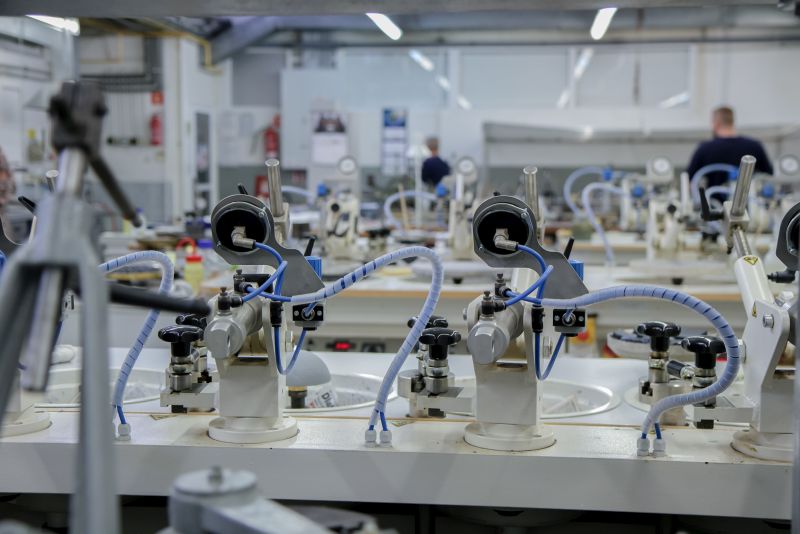
In order to apply the diamond pallets Solaris Optics needed additional grinding capabilities and purchased a single-sided CNC grinding machines from Dopa Diamond Tools.
“The implementation of this technology at Solaris Optics is aimed at eliminating the formation of subsurface damage resulting from traditional cutting and grinding processes. As a result, the quality of the offered products will improve, the grinding and polishing time will be shortened, which in turn will translate into shorter delivery times for our customers.”
Kamil Łęcki, Technical and Investment Manager at Solaris Optics
The measurements of results, i.e. the actual subsurface damages at different stages of manufacturing, will be measured via microscopic techniques, after gently removing the surface layer with MRF polishing machine (in raster mode) and chemical etching.
Expected results
The investigation shall allow Solaris Optics to improve the optics manufacturing process for planar optics, such as mirrors, windows, blanks, prisms, etc. The main benefits for clients include shorter lead times and lower costs with improved final product quality (i.e. less scatter, better durability).
Solaris Optics observed positive results of the initial tests and becomes optimistic towards the project goals.
*
The R&D investigation and investment is a part of a project titled “Development of R&D infrastructure of Solaris Optics S.A. as a way to implement innovation” co-financed by the European Regional Development Fund under the Regional Operational Program of the Mazowieckie Voivodeship for 2014-2020, Sub-measure 1.2. Research and development activities of enterprises.
***

